
I could spend dayssss blog hopping around on all the
fabulous crafty blog sites. I definitely have an endless list of things
that I want to create. I came across this idea about a year ago
and finally got around to trying it out.
Remember how I said I'd share the little crafty tutorial?
Well, here ya go!
2x4 Wood Block Display

Supplies:
-2x4 Piece of wood
*You can get at a hardware store & even have them cut it for you
-Sand paper
-Scrapbooking Paper
-Vinyl Lettering or dye cut letters
-Mod Podge
-Paint brush
-Ribbon


I used my Cricut cutter for the flowers and leaves.
I wanted it to resemble flowers in a garden for springtime
so I chose green for the grass and pink flowers.
You can choose any combination depending on the season/occasion.


I know there are different types of Mod Podge... Matte, Gloss, etc.
but since I'm pretty new to Mod Podge I just picked up whatever I found at
our local craft store.
Here's an easy little video tutorial on
"How-to Mod Podge"


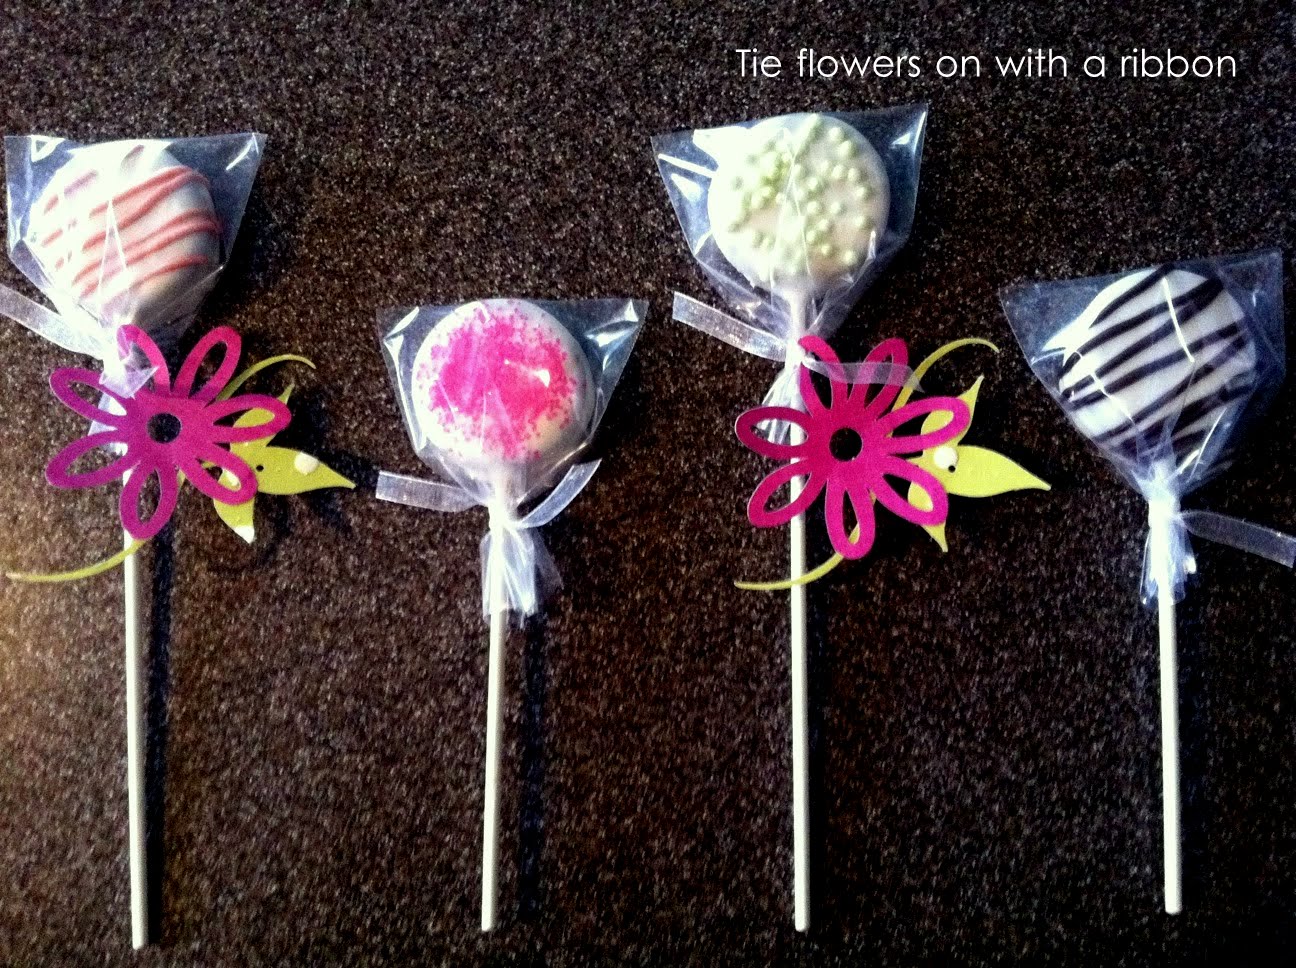
I used Oreo Pops for this (tutorial of Oreo yumminess found here)
but you could use cake pops, brownie pops, or even fake daisies to fill the block.
Possibilities are endless.
Then put the pops in the block and there you go... You're done!

Enjoy!
No comments:
Post a Comment